Installing spark plugs is a common maintenance task that many DIY enthusiasts tackle. While the procedure might seem straightforward, ensuring you have the right tools and steps laid out can make the process smooth and hassle-free. This checklist guides you through the essentials for a successful spark plug replacement.


Tools & Materials Checklist:
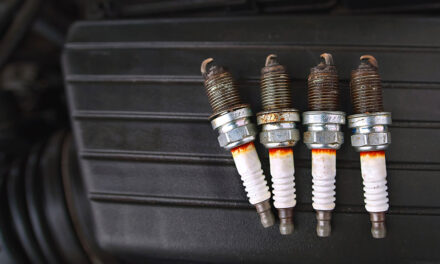
- New Spark Plugs: Always cross-reference the correct part number for your vehicle model and year.
- Spark Plug Socket: This deep socket is designed to fit over a spark plug.
- Socket Wrench: To turn the spark plug socket.
- Socket Extension Bar: Helps reach deep-set spark plugs.
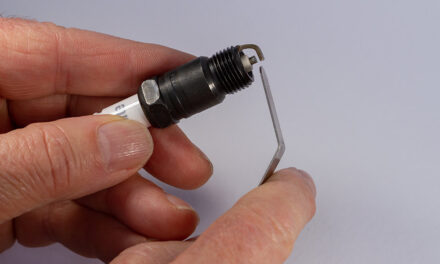
- Spark Plug Gap Tool: To measure and adjust the distance between a new spark plug’s center and side electrodes.
- Anti-seize Compound: Prevents the spark plug from seizing in the cylinder head.
- Dielectric Grease: Ensures a good connection and prevents moisture intrusion in the boot.
- Torque Wrench: To ensure spark plugs are tightened to the correct specification.
- Wire Brush or Cleaner: Clean the area around the spark plug well.
- Compressed Air or Blower: To remove debris around the spark plug area before removal.
- Spark Plug Boot Puller (or Pliers): Helps in safely removing the spark plug wire or coil-on-plug.
- Rags or Towels: For cleaning and wiping off any oil or debris.
- Safety Gear: Includes safety glasses and mechanic gloves.
Installation Steps:
- Safety First: Make sure the engine is cool to avoid burns. Disconnect the negative battery terminal for safety.
- Clean Surrounding Area: Using the compressed air or blower, clean around the spark plug to prevent debris from falling into the cylinder when the plug is removed.
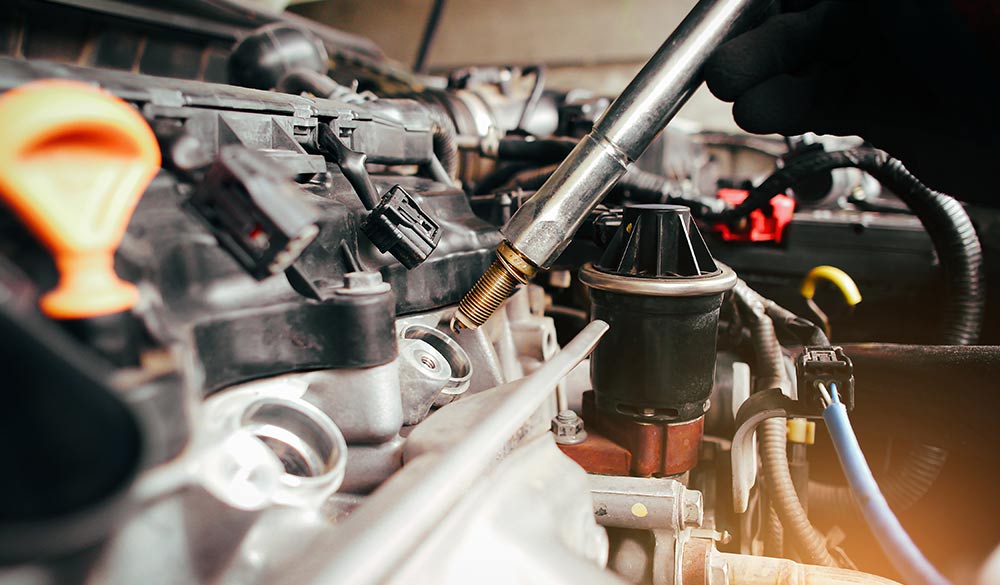
- Remove Spark Plug Wire/Coil: Carefully use the boot puller or pliers to remove the spark plug wire or coil-on-plug from the spark plug.
- Remove Old Spark Plug: Using the spark plug socket and wrench, turn the old spark plug counterclockwise to remove it.
- Check & Adjust New Spark Plug Gap: Utilize the spark plug gap tool to ensure the new spark plug’s gap matches the manufacturer’s specifications.
- Apply Anti-Seize: Lightly coat the spark plug threads with an anti-seize compound. Be careful not to get any on the electrode.
- Install New Spark Plug: Carefully thread the new spark plug by hand to prevent cross-threading. Once hand-tight, use the torque wrench to tighten it to the manufacturer’s specification.
- Apply Dielectric Grease: Put a small amount inside the boot end of the spark plug wire or coil-on-plug.
- Reattach Spark Plug Wire/Coil: Push the wire or coil onto the spark plug until it clicks or seats firmly.
- Reconnect Battery: Reattach the negative battery terminal.
- Test the Vehicle: Start the vehicle and listen for any misfires or irregularities. If the engine runs smoothly, your installation is successful.
Now retrieving an image set.
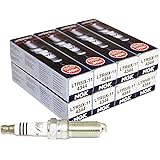
NGK Iridium IX Spark Plugs Compatible with Chevrol...
$65.01 (as of May 3, 2026 19:10 GMT -05:00 - More infoProduct prices and availability are accurate as of the date/time indicated and are subject to change. Any price and availability information displayed on [relevant Amazon Site(s), as applicable] at the time of purchase will apply to the purchase of this product.)
Now retrieving an image set.
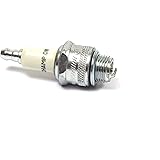
NGK Spark Plug Standard BPR5ES - Pack of 2
$9.41 (as of May 3, 2026 19:10 GMT -05:00 - More infoProduct prices and availability are accurate as of the date/time indicated and are subject to change. Any price and availability information displayed on [relevant Amazon Site(s), as applicable] at the time of purchase will apply to the purchase of this product.)
Now retrieving an image set.
Champion Spark Plug for Craftsman (2 Pack) # 71G R...
$9.15 (as of May 3, 2026 19:10 GMT -05:00 - More infoProduct prices and availability are accurate as of the date/time indicated and are subject to change. Any price and availability information displayed on [relevant Amazon Site(s), as applicable] at the time of purchase will apply to the purchase of this product.)
Now retrieving an image set.